A tiling job is one of the home improvements projects that could be done by almost anyone. Whether you have an experience in tiling or not, you could surely accomplish this task when you have the right tools and a simple guide on how to do it. You could save a lot if you do a tiling project by yourself plus you get to make your space look exactly how you want it to be.
If you’re planning a home renovation or remodel project that requires a tiling job, you need to have the right and complete supplies to do this task. Here are the must-have tools to do a DIY tile installation.
Bubble Level
Another essential tool that would help you create straight lines is a bubble level. This tool is commonly used when you’re making layout lines on the wall. You could use it to see if the surface is level or if the installed tiles are perfectly flat, and so on.
Chalk Line
Straight lines are important when doing a tiling project. A chalk line is an old-school tool but still the easiest way in making straight lines on any surface that you’re working on. It helps define the area where you’ll install tiles before you start the project.
Grout Float and Sponge
To apply the grout in between the tiles, you’ll need a grout float. This tool is really effective in forcing the grout flush in between the tiles and scrapes it evenly. To smooth over the grout joints and clean up the excess grout on the tile surface, a grout sponge is the best tool for the job.
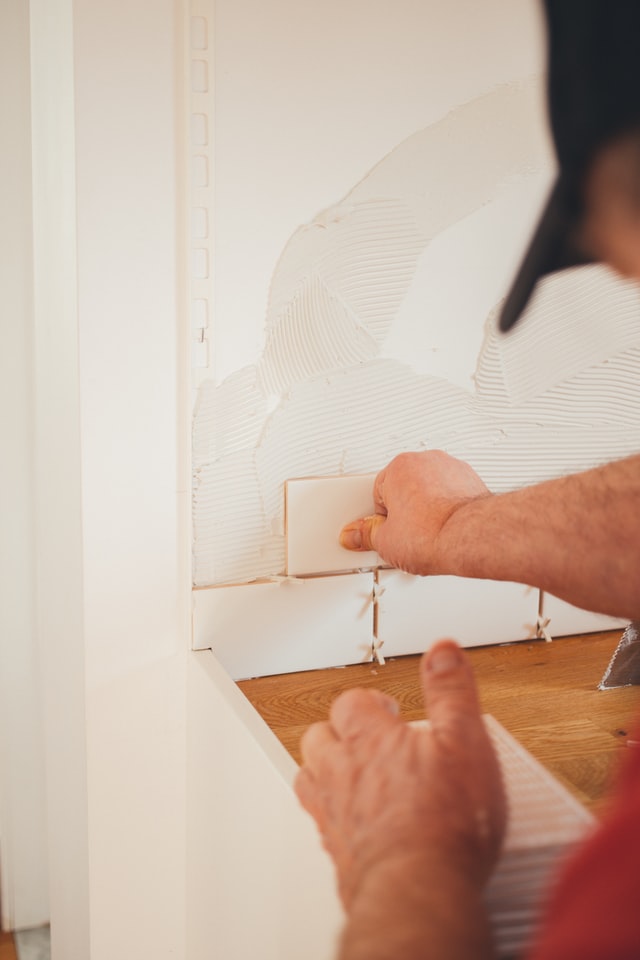
Notched Trowel
You’re going to use a notched trowel to spread an even amount of adhesive into the floor surface where you’ll install the tiles. After applying the adhesive with the flat surface of the trowel, use the notched edges to roughen the adhesive for better hold into the tiles. Choose the right notch size and type depending on the adhesive that you’re using and the kind of tiling project you have.
Rubber Mallet
After placing the tiles over the adhesive, you’ll need to tap them gently with a rubber mallet to secure them into place. A rubber mallet is the only thing that does this job best and is less likely to cause cracks on the tiles.

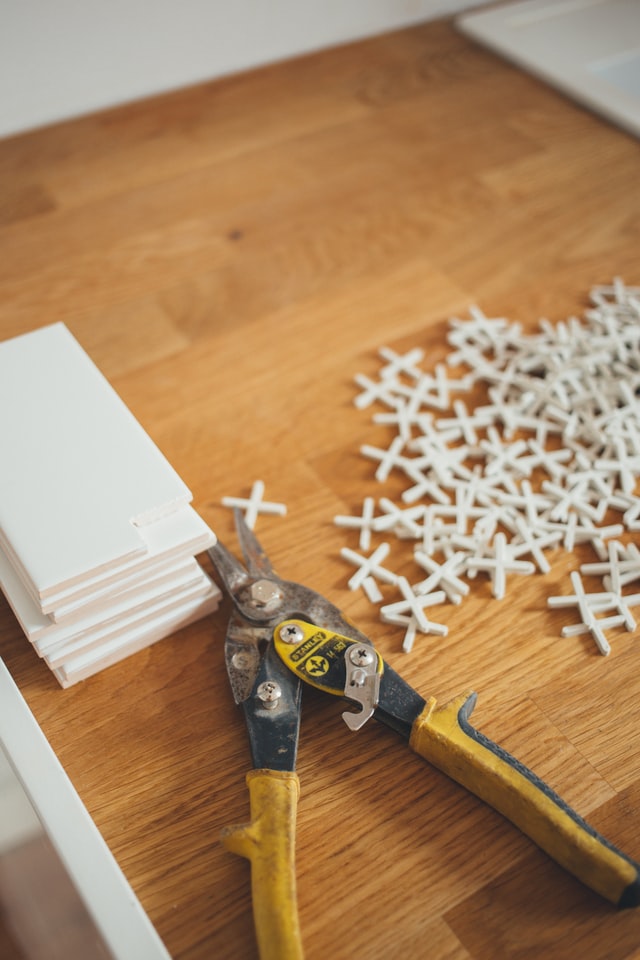
Tile Cutter or Wet Saw
You’ll need to cut a few tiles to make them fit into the area that needs to be tiled. Usually, these are the last tiles on the edge of every row. Tiles are made from different materials – from ceramic, porcelain, glass, stone, and many more. The must-have DIY tiling tools that could cut through all of these materials is a tile wet saw or tile cutter. If it’s a small tile job, you could rent a wet saw but you could always invest in buying a new one if you love DIY home projects.
Make your DIY tile installation efficient and convenient by having all of these tools before starting your tiling project.


